Paint a Giraffe
Just for fun, I thought I’d start a mini-series of fun projects you can do with your small humans. Anyone can paint – but I am passionate about encouraging children to do it without fear or judgement and this is a fab way to keep them entertained for a little while. The great news with watercolour painting is it’s “minimal mess” compared with getting out the poster paints. That may well be why my Mum encouraged me to use watercolour thinking about it!
This is just an idea at the moment so please do let me have your feedback afterwards and also tell me if you would be interested in watercolour workshops for your older children.
What you’ll need:
- Instead of paper (which gets all wrinkly) I’d suggest card, but not shiny card as the paint needs to be absorbed. I use a matt card or proper watercolour paper. Have plenty, so that they can try some experiments before they start on the giraffe.
- Masking tape or similar to stick the card down once you start serious painting
- Pencils for drawing the outline
- A waterproof pen for drawing in details like smiley faces and the eyes
- A rubber
- Watercolour paints, ideally in a tin so that they can mix in the palette lid
- Paint brushes, different sizes
- A pot of water for the watercolours
- Kitchen towel, which is crucial for controlling the paint
- Not essential, but handy, a hairdryer
“The best thing is you don’t even need to worry about what colours you have to hand; I’ve painted purple, pink, green, and blue giraffes. It’s your imagination!”
nessie
 I’ll assume that you’ve got the kitchen table covered and the dog out of the way or also covered.
Getting started really is very easy. Start off by dropping a little water into the sections of your colour palette for each colour you’re planning to mix. Then add a little paint to a brush and blend with the water.
I’d recommend getting the kids to experiment, especially if they’ve never never tried watercolour before. Why not get a bit of card a bit wet, and drop some colour on? Then get a paintbrush with colour and let it splooooosh, onto the card – you get a different effect on wet card than on dry. Maybe try with some dry card, and a wet paintbrush as well. Let them see what happens with different colours and different amounts of water before they move onto the “real thing”.
Once you’re ready to have a go at your Giraffe, get yourselves a fresh piece of card (you can always keep the experimenting one at the side as well). I’d suggest getting some masking tape and taping the card to the work surface, as this stops it slipping about. The giraffe is basically rectangles, circles and triangles, but we’ve done a Giraffe Template that you can download and print off to give you a head start.
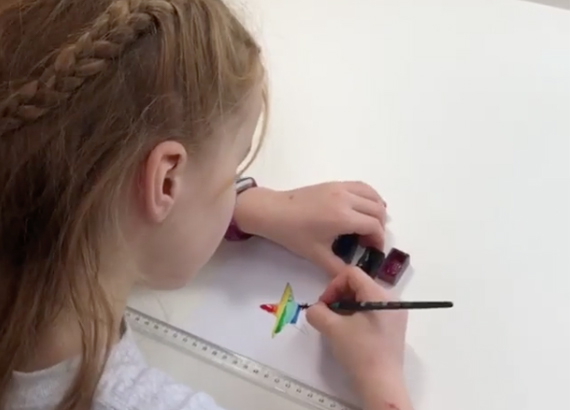
I would start with a pencil just to get the outline of your Giraffe. Once you have that, it’s time to have fun with colours, don’t forget it doesn’t have to be realistic!!!
Start to add the colours you’ve chosen to your colour palette. I’d suggest starting with one colour then giving the creation a quick zap with a hairdryer or pat it off with some kitchen towel, before you move onto the next colour.
Once you’ve finished with all the colour, let the painting dry properly, then if you want to make more of your Giraffe’s smiley face, ears or tail, you can go around them with a waterproof pen. If you really want to get creative, you could even add some sparkly bits!
I hope you have lots of fun with this! And don’t forget, I’d really like to hear how you got on. We’re getting closer to Christmas, so if you enjoy this, let me know and I will come up with a Christmas project for you all to try!